When it comes to color correction versus color grading, the practices sound similar, look related, and share the end goal of visual consistency for your videos. Both steps occur within the same post-production workflows and work together to influence how your final video appears, but they serve different purposes.
In this guide, you’ll get a clear breakdown of what each term means, what order to do them in, and why that order matters to strengthen your project’s overall look.
Color correction vs. color grading
Before we explain the differences between color correction and color grading, it helps to understand a few key terms that build the basics of color:
- Hue: The color you see on screen, such as red or blue.
- Saturation: How much hue is in a color or how intense that hue looks, from muted to vivid.
- Brightness or luminance: How light or dark the image is overall.
- Tint: Subtle color grading across the image, often caused by lighting conditions or camera settings.
- Color space: The range of colors your footage captures and displays.
These properties affect the emotional experience of your footage. Alongside things like camera shots, the depth, saturation, and placement of your colors in a shot can make a scene moody and dramatic or bright and professional.
Color correction and color grading are two video editing processes that use color to improve your videos.
Color correction
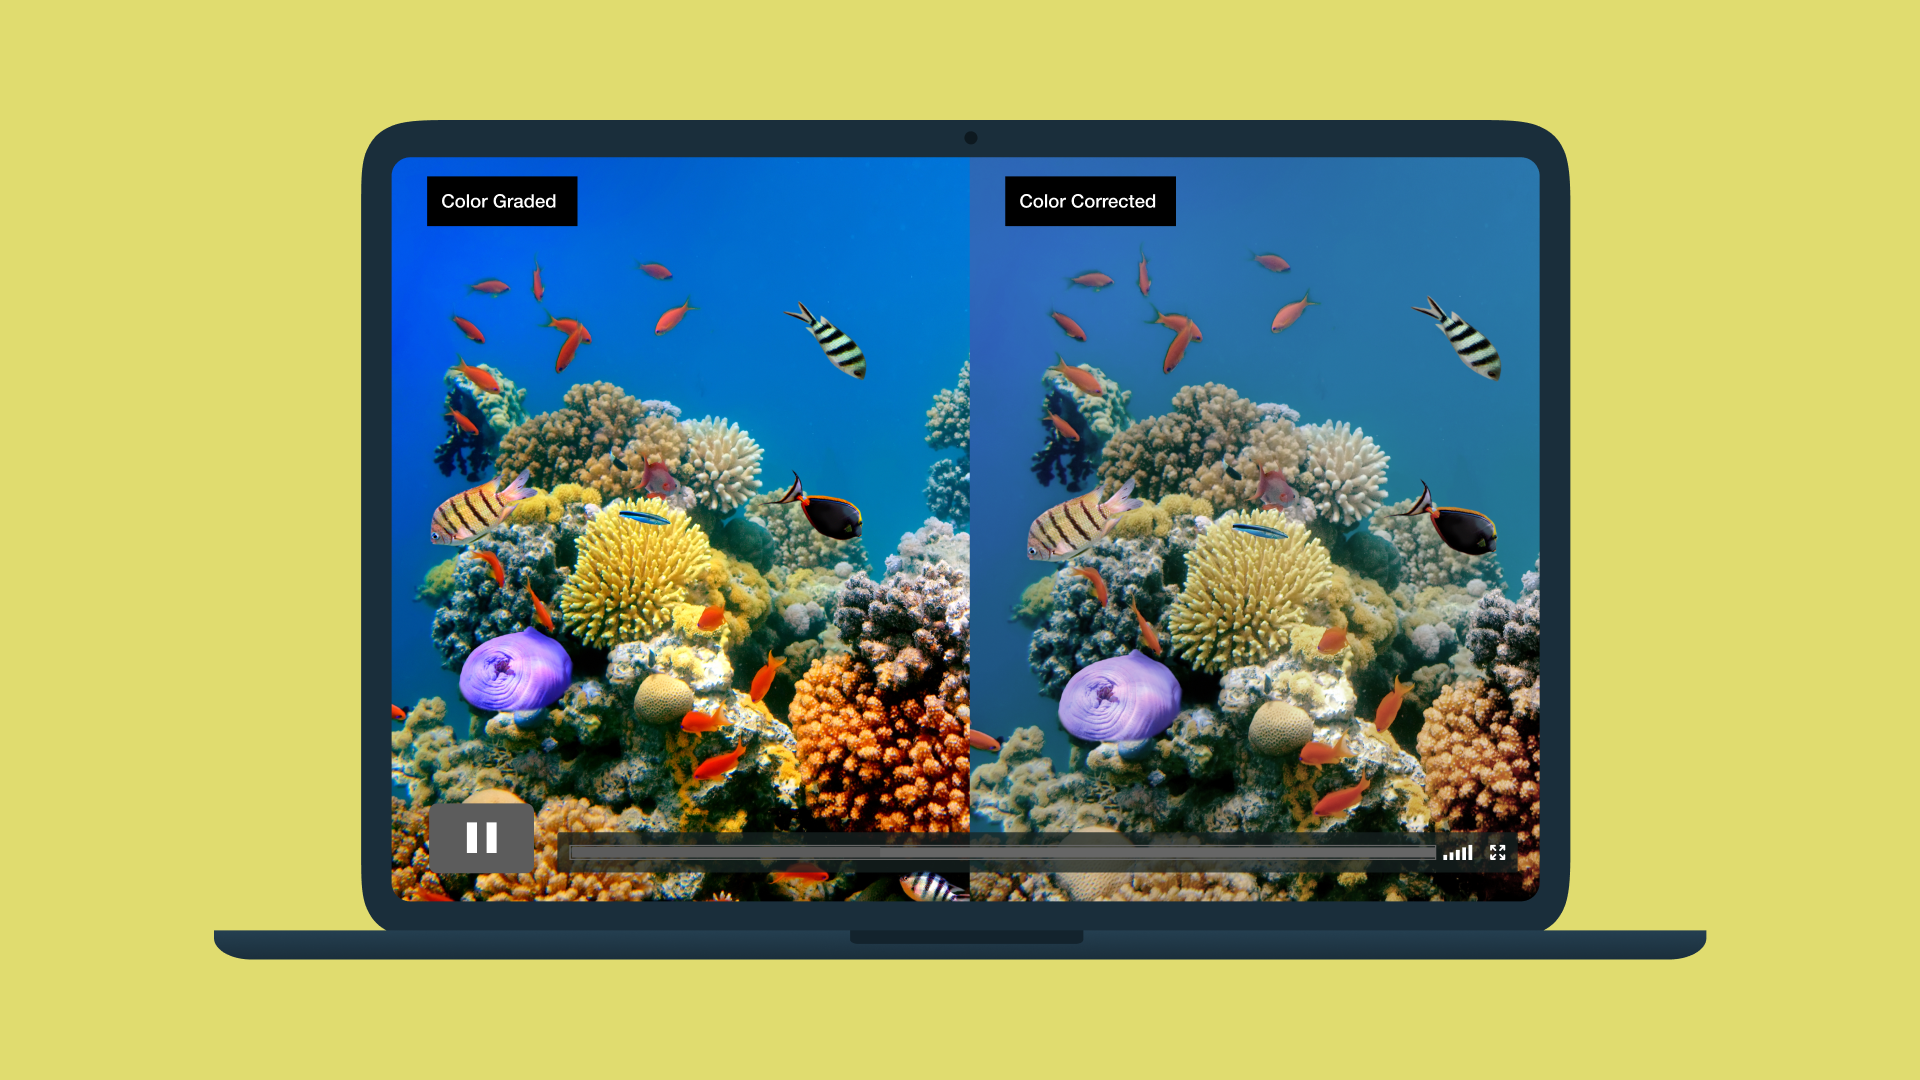
Color correction is a technical clean-up pass in your post-production edits. During color correction, editors adjust exposure, white balance, and saturation so the video images look natural and consistent from shot to shot. If one clip is bluer than the others, or if faces look washed out from too-bright lighting, color correction brings everything back to a neutral, realistic baseline that matches what you saw on set.
Color grading
Color grading builds on the corrected image to create a deliberate style. Once the footage appears accurate on screen, color grading tools adjust hues, alter contrast, and refine saturation to match a specific mood or visual identity.
Filmmakers and editors often rely on a lookup table (LUT) as a starting point for cinematic color grading, then add secondary color adjustments to skin tones or highlights to ensure the entire project maintains a consistent cinematic look. For example, a desaturated palette might serve as a recap on a serious news story better than vivid colors.
Edit your video with Vimeo →
5 differences between color correction and color grading
As you move through post-production, it may not always be clear when to correct and when to grade colors. Here are five key differences between color correction and color grading to keep in mind to achieve the best results.
1. Order: Prep vs. polish
Color correction happens in post-production after you’re happy with the edit. Its focus is on technical cleanup, like matching cameras, correcting white balance, and adjusting exposure so every clip feels like part of the same scene.
Color grading polishes your color correction. It adds a creative element to footage that’s been corrected and evened out, pushing visuals toward a specific mood or stylistic direction.
2. Mindset: Objective vs. creative
Color correction is more technical and objective than color grading. If skin tones lean green or a neutral wall appears orange, that's a technical error, and the editor or colorist’s job is to correct it so the image looks natural and clear on the screen.
Instead of asking whether a shot is purely accurate, color grading is an opportunity to change how it should look and feel. You should put a cool tone over a scene to build tension or warm it up for nostalgia, but both approaches use color as a storytelling tool.
3. Workflow: Clip by clip vs. global
Color correction generally happens clip by clip. Each shot will have its own mix of problems — one underexposed, another with a strange cast from practical lights — especially when working with multiple cameras or mixed lighting. During color correction, you’ll fix the individual problems in each clip so they flow together.
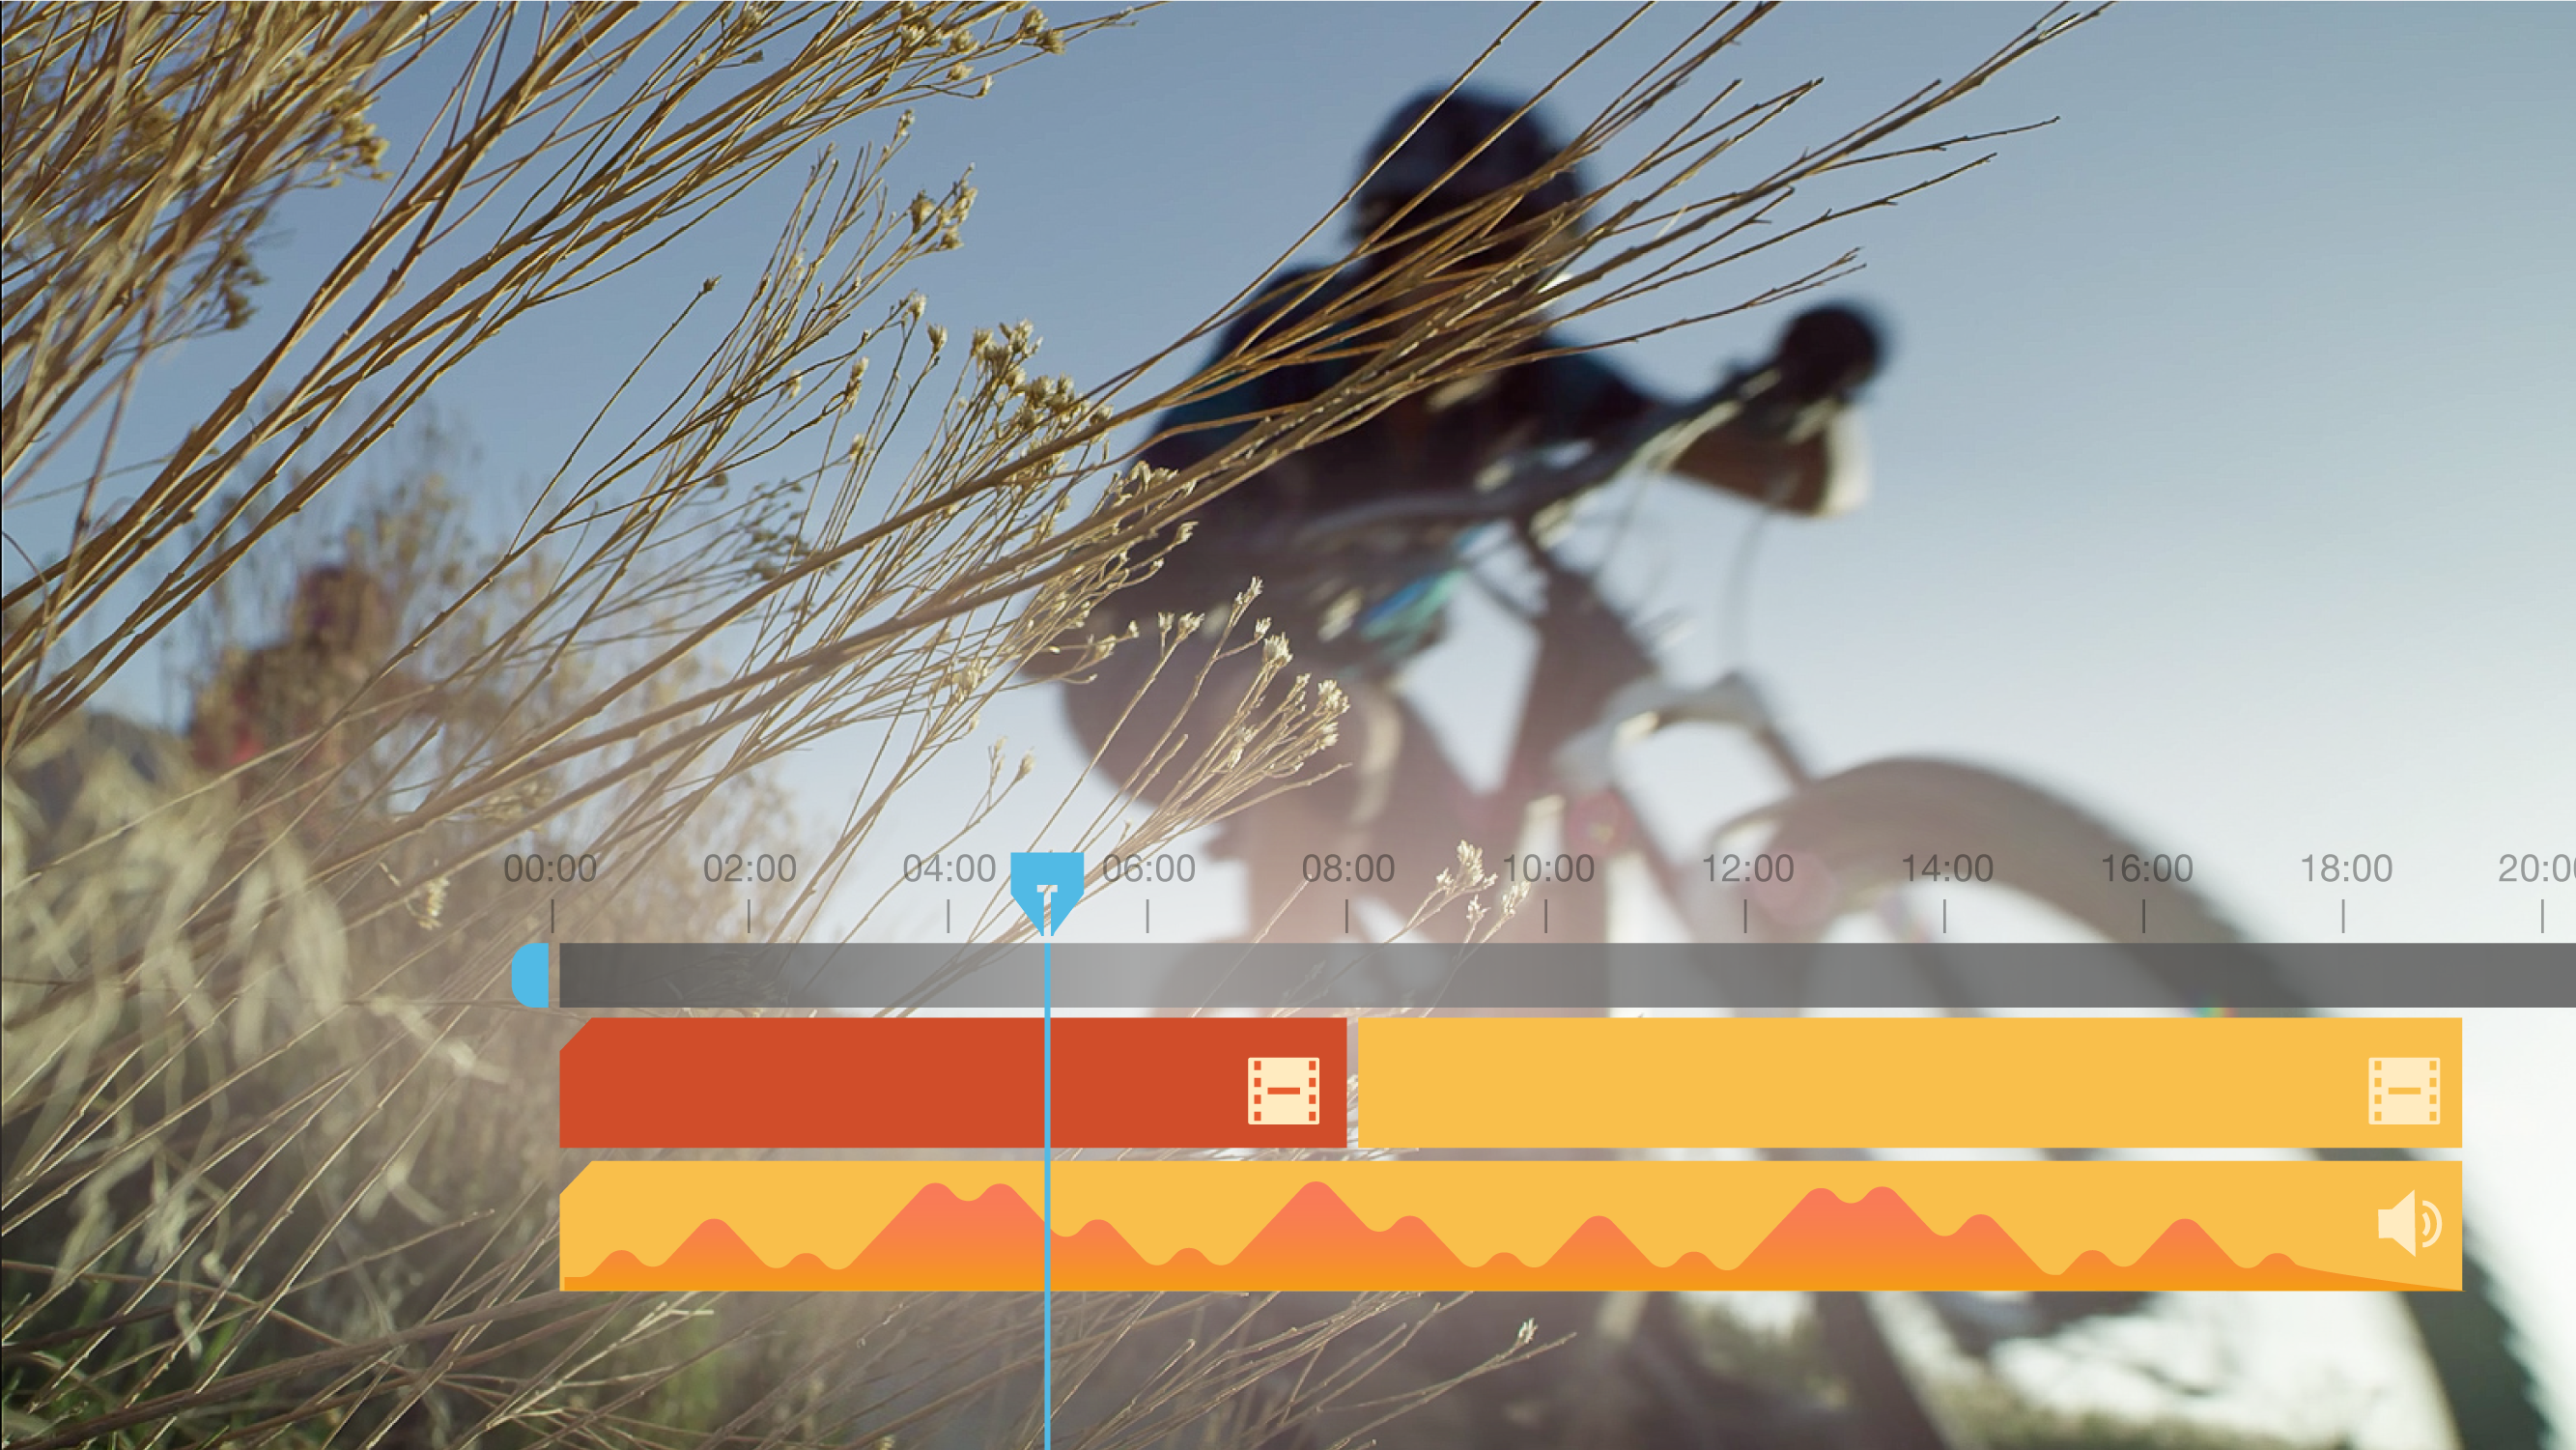
Color grading operates on a broader scale. After everything aligns, a LUT or stylized curve, on an adjustment layer or via nodes, might sit over a whole scene or sequence. That way, your creative look covers everything in a controlled, consistent way, rather than having to be rebuilt from scratch.
4. Tools: Scopes vs. style controls
Color correction relies on scopes and calibrated monitoring. Waveform and vectorscope readings show how bright your image is and where your colors sit, so you can adjust and refine nitty-gritty technical details with precision rather than relying on your eyes alone.
Color grading uses those same readings with creative control as the primary focus. Professional color grading often involves a colorist who applies a LUT or custom curve to set the initial look, then refines it with color wheels and targeted adjustments until the style feels consistent from scene to scene. These tools gradually apply saturation and tone without compromising the stability built during correction.
5. Visibility: Unnoticed vs. signature
Strong color correction should go unnoticed. When exposure, saturation, and white balance stay steady, cuts feel smooth even as you move between cameras or locations. Most importantly, it helps viewers focus on the content rather than react to inconsistencies on screen.
Color grading can become part of your signature. Once the image has been corrected, grading gives your projects a recognizable look, like a subtle red cast over a horror-focused review vlog or natural lighting carried through a travel vlog. Over time, that style becomes part of your recognizable brand identity the moment your video appears on the screen.
Try Vimeo AI for efficient edits →
Color grading and color correction in real life
Seeing how color correction and color grading show up in everyday creator projects can make the difference clearer. Here are a few scenarios you might encounter after shooting.
Cleaning up a mixed-light interview
Interviews shot near a window often mix cool daylight with warm indoor lighting. Color correct to fix the white balance, even exposure, and control contrast so skin tones look realistic. Once everything feels cohesive, grading adds a consistent look that matches your tone.
Making product demo videos look consistent
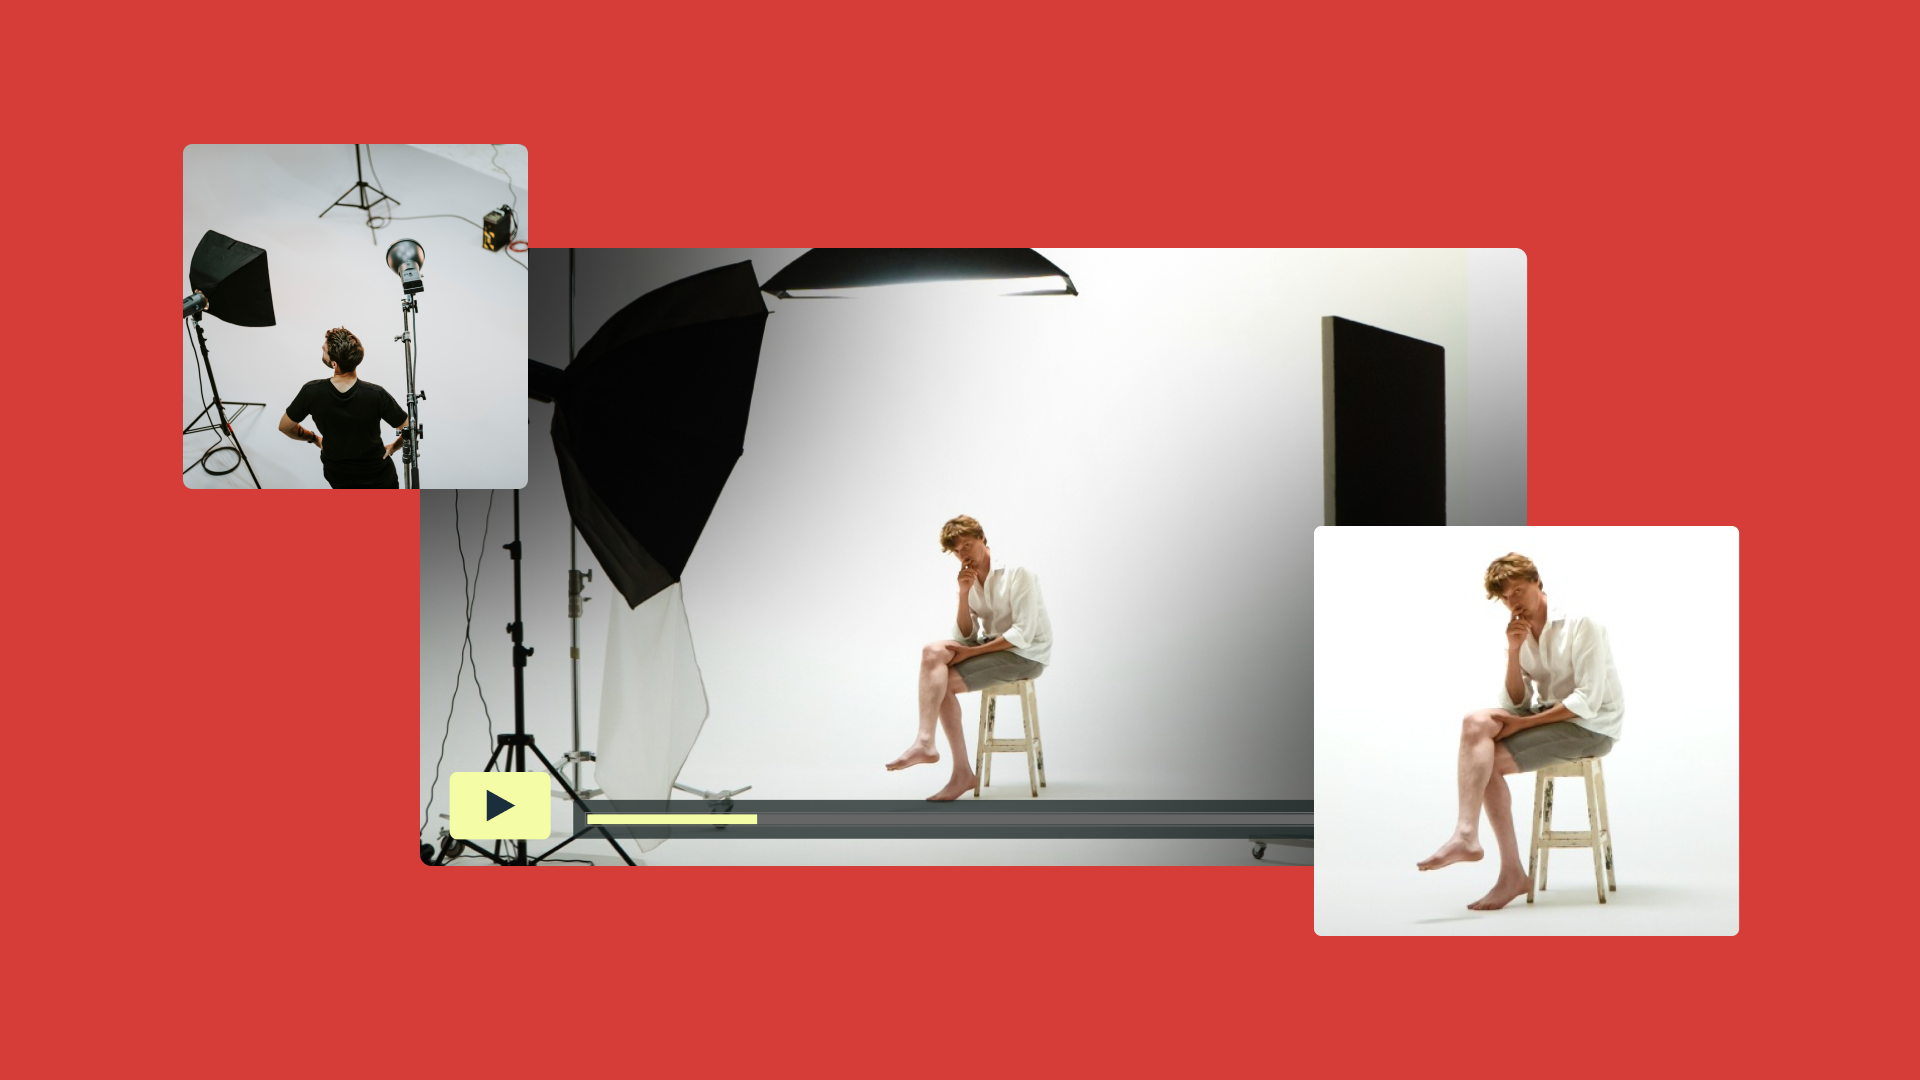
If you record product demos in different rooms or over multiple days, each clip will likely carry slight variations in brightness and saturation. Correction aligns those shots so the product feels the same from angle to angle. After that, a grade can give the demo a polished “studio” feel by applying a LUT or a simple curve.
Enhancing live event recordings
When editing a talk or workshop, stage lighting rarely matches the camera’s picture profile. Color correction restores clarity — especially between skin tones and slides. A gentle grade then evens out the mood across cameras, making the event replay feel like the viewer’s watching it in real time.
Giving branded videos a consistent palette
Brands producing weekly content often rely on grading to hold a uniform look across every upload. After a basic correction pass, a creator might use the same LUT and minor adjustments to saturation and contrast so each video feels like part of the series.
Refining outdoor footage for travel or creator videos
Outdoor shoots can swing between bright sun, shade, and cloud cover in minutes. Correction stabilizes brightness so scenes don’t look dark in one shot and oversaturated in the next. The grade then adds personality.
FAQ
Which coloring tools should I use?
The best desktop editors give you access to color wheels, curves, and LUT support, and secondary color adjustments. Choose the tool that fits your workflow — like DaVinci Resolve and Adobe Premiere — and the level of control you need in post-production.
How can I do color grading?
Start by correcting exposure and white balance to make your footage look natural. Match neighboring clips for consistent brightness, contrast, and saturation. Set this base look with a LUT or gentle curve that defines your overall style. Once your style is set and visuals are consistent, use secondary color tools to refine key areas, such as skin tones or important objects. Finally, make any small adjustments to ensure the grade feels cohesive across the whole video.
What’s the best way to handle HDR grading for future-proofing content?
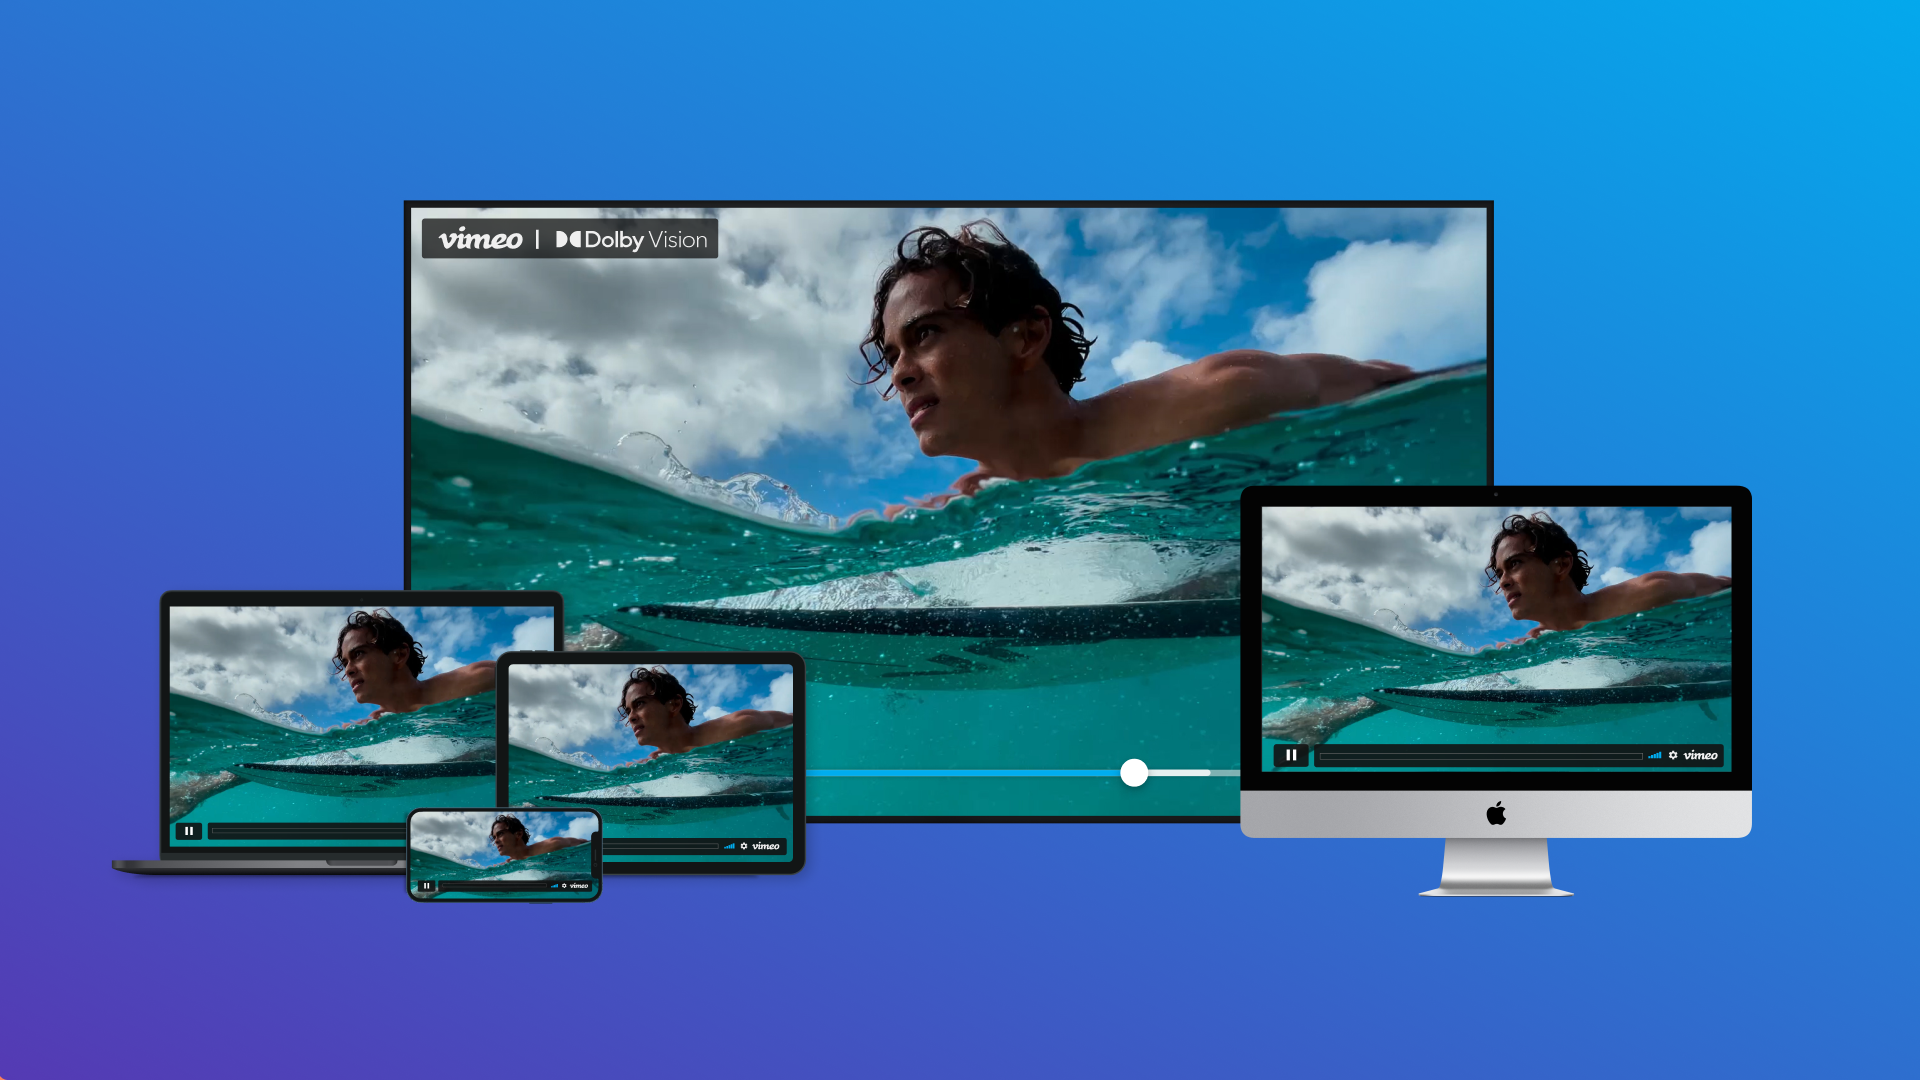
Grade on a calibrated HDR display and keep highlights within a controlled range so this image endures how you want it across different screens. When you export, create both HDR and SDR versions so viewers can see a version that matches their device.
Bring it all together with Vimeo
Color correction and color grading shape how your video images look and how audiences receive your story. Whether you’re a director working on your first short film or part of a media enterprise adding consistency and personality across your brand videos, color correction and color grading give you control over the fine details. Understand the difference between fixing issues and creating a visual identity, and your videos will feel intentional from scene to scene.
Once your grade is complete, Vimeo’s video editor gives you everything in one place to make the final adjustments. You can crop your frame, compress videos for sharing, or merge separate cuts into a single upload as you finalize your project. When you’re ready to share, embed videos on your website while maintaining visual quality, and manage video libraries across multiple projects to keep your content organized.
