A fade is one of the simplest and most useful techniques in video editing. These transitions smooth the start or end of a clip so the viewer eases into a scene rather than being hit with an abrupt cut. Fade in effects gradually introduce an image or audio track, starting from nothing and building to full visibility or volume. Fade outs work the opposite way, gradually darkening the image or lowering the audio until it disappears or the clip ends.
You don’t need advanced video editing software to add fades, and with a basic understanding of transitions and a few minutes of practice, you can make your clips smoother and more polished. This article covers how to fade in and fade out video clips, and how to avoid mistakes that make otherwise clean fades feel clumsy.
Fading in and out: Definitions and common fade types
Fading in and fading out both gradually change the visibility or audibility of a clip rather than switching between clips with a hard cut. When a clip fades in, it builds from nothing before reaching full strength. Fade out dims the clip until it disappears or the next one takes over.
These two effects sit under the wider umbrella of video transitions. A few fade variations come up often enough to know by name:
- Fade to black: A clip settles into a black screen, signaling a firm stopping point.
- Fade to white: The clip lightens rather than darkens while fading out, giving the cut a softer or more stylized feel.
- Cross-fade or dissolve: One clip overlaps and blends into the next, skipping the solid color transition entirely.
The same logic extends past the picture. Audio and subtitles can fade in and out together, keeping every part of the edit moving at the same pace instead of unevenly jumping with hard cuts.
How to fade in and fade out video clips in an online video editor
Most online video editors follow the same basic workflow for applying a fade in or a fade out effect, though the exact menus and button labels vary. Once you understand the following six steps, you can apply them in nearly any editor you choose.
1. Upload your video files
Start by uploading your video files to the editor. Most online editors accept common formats like MP4 and WebM, and Vimeo accepts nearly every video and image file format, so there’s no need to convert before you begin.
2. Add your clips to the timeline
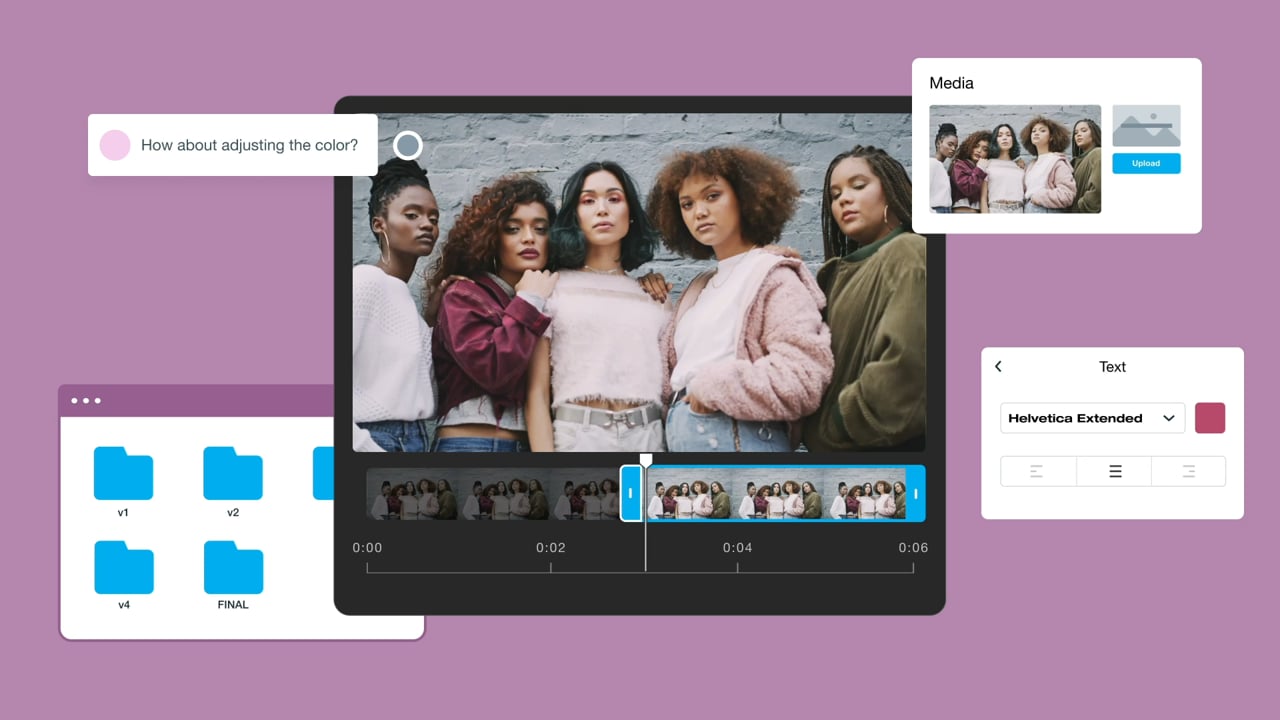
Drag your uploaded clips onto the timeline in the order you want them to play. The timeline is where you'll do all your editing, including applying fades, so get your clips arranged before you start adjusting effects.
Try Vimeo's timeline editor →
3. Select the clip or transition point
Click on the specific clip, or the point between two clips, where you want the fade to happen. A fade-in typically goes at the start of a clip, while a fade-out usually goes at the end or right before a transition into the next one.
4. Apply the fade effect
Look for a fade option in the editing platform’s “Effects” or “Properties” panel. Click on it to add the fade to your clip on the timeline.
5. Adjust the fade duration
Most editors let you set the fade duration in seconds using a slider or number field. A shorter duration creates a quick, subtle fade. Push it longer, and the effect feels slower and more deliberate. Many editing platforms also cap how long a fade can run, usually around half the clip's length, so you can't accidentally stretch a five-second clip’s fade out over 20 seconds.
6. Preview, export, and share
Preview the clip before exporting to confirm the fade looks how you want it to, especially if you're fading clips with different brightnesses or color grades into each other.
Once you're satisfied with the effect (and any other edits you make), you can export the video and share it. Vimeo's online video editor handles all of these steps from the same place, so you can take a video from early edits to shareable content without closing your browser window.
How to fade audio with your video clips
A clean visual fade only handles half the job. If the audio suddenly jumps in at full volume or cuts off mid-note, the viewer is taken out of their experience even when the visuals look smooth. Here are few audio editing habits keep sound matching the edit’s polish:
- Fade music in at the start: If the video opens with the soundtrack, ease in instead of starting at full volume, as blasting music is jarring for viewers.
- Fade music out at the end: Cutting music abruptly pulls attention away from your closing shot. Let it taper off instead.
- Fade between clips with different background noise: A room with an open window next to a highway sounds different from a quiet office. An audio fade smooths the switch.
- Check dialogue clarity: If music or sound effects are fading as someone’s talking, make sure the dialogue stays audible the whole time. Keeping dialogue and non-diagetic sound on separate tracks can help you keep these sounds cleaner.
- Listen with headphones before you export: Speakers can hide small audio issues that headphones pick up right away.
When should you use a fade in or fade out?
Like all visual effects, fades work best when placed intentionally. In the opening, a fade in eases viewers into the first shot instead of dropping them straight into the action. At the end, a fade out gives the closing moment somewhere to land rather than cutting off abruptly.
Fades are also useful mid-video because they can mark a shift in tone or pace. When two clips don't connect naturally with a hard cut, especially when the lighting or setting changes, a fade or dissolve smooths the switch. The same applies to audio and text: both feel less jarring when they fade rather than cut in and out suddenly.
That said, fades aren't right for every video. A fast-paced edit or a quick social clip usually needs a clean cut to keep momentum going. Save the fade for moments that call for a pause, not for content built around speed.
Common fade mistakes to avoid
A few habits can separate a clean fade from one that snaps viewers out of the video:
- Making the fade too long: A fade that drags on longer than a few seconds can make the transition feel sluggish.
- Using fades too often: Fading every single cut wears out the effect, annoying viewers and slowing the video's pace.
- Forgetting about audio: A fade that only adjusts the picture but leaves the sound cutting in and out abruptly pulls the viewer out of the edit.
- Fading clips that are too short: Fading a clip that’s shorter than a couple of seconds doesn't leave enough room for the fade to register.
- Using a fade when a cut would work better: Fast-paced sections don't need the extra beat a fade adds.
- Ignoring subtitles or text: Captions and subtitles, or other onscreen text, should fade with the video, or risk breaking the effect.
FAQ
Do videos always need to start with a fade in?
No. A fade in works well for a slower or more reflective opening, but plenty of videos benefit from starting straight with the action instead. Social clips and ads with fast-paced content often perform better with a hard cut straight into the first shot. Use a fade in when you want to ease viewers in, not as a default for every video.
How do I fade a video on my iPhone?
Most iPhone video editors include some kind of fade control for clips or transitions, although the exact steps depend on the app. Open your clip, look for a fade or transition option, and adjust it at the start or end of the clip. If you're using a specific app, the menu location can vary, so it's best to follow that app's tutorials and guides.
Do fade effects affect video quality?
No. A fade effect itself does not reduce resolution or compress your footage. The export setting you choose after editing (such as resolution or bitrate) affects quality, not a fade transition.
Edit and share polished videos with Vimeo
Fading clips and timing transitions are easier to manage when your editing platform handles everything in one place. Vimeo's online video editor runs in the browser, so you can work with clips and effects without installing a clunky program or learning an entirely new skillset to make a few changes.
Once your fades are in place, Vimeo’s editor lets you trim clips and layer in transitions before exporting. Everything stays in one workspace, from the first cut to the finished file, so you can polish a video and share it without switching between tools.